Read through to the end of this post for details on how to win your own whitening kit!
When Smile Brilliant reached out to partner with me, I was excited to give their at-home teeth whitening kit a try! While I had used popular drugstore teeth whitening strips in the past, they always made my teeth really sensitive, and the minimal results I was getting just weren’t worth the sensitivity, so I gave up on them a while back. Smile Brilliant assured me that they have kits that help with sensitivity and that I would be happy with my results, and they were right!
So, why did I even decide to try teeth whitening again? Well, as we age, our teeth naturally become less white. Factor that in, along with the fact that I drink coffee nearly every day now (I didn’t up until I started working at my current job), but I do limit myself to only one cup and I like a good amount of cream in it. I also tend to eat foods that stain teeth, like blueberries and beets. So, I wanted to see if Smile Brilliant could brighten my smile!
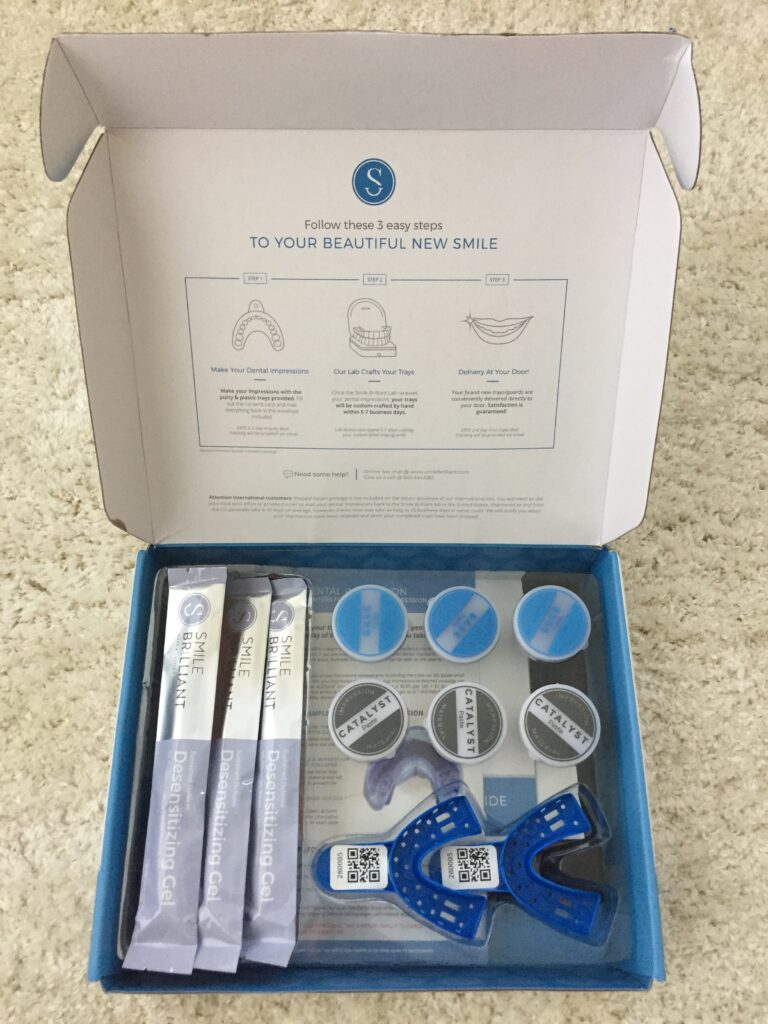
Smile Brilliant mailed a kit to me that includes everything needed for the entire process. When it arrived, I got to work making my impressions for my custom trays. They give you simple instructions on how to do it and some extra material in case you need to re-do one. I did have to re-do the mold for my top teeth because I still have my wisdom teeth and didn’t get back quite far enough when I made my first mold. But it wasn’t a big deal. I popped my impressions in the pre-paid mailer they sent and shipped them off. Their lab sent my custom trays to me within a week or so, and then I was ready to begin whitening.
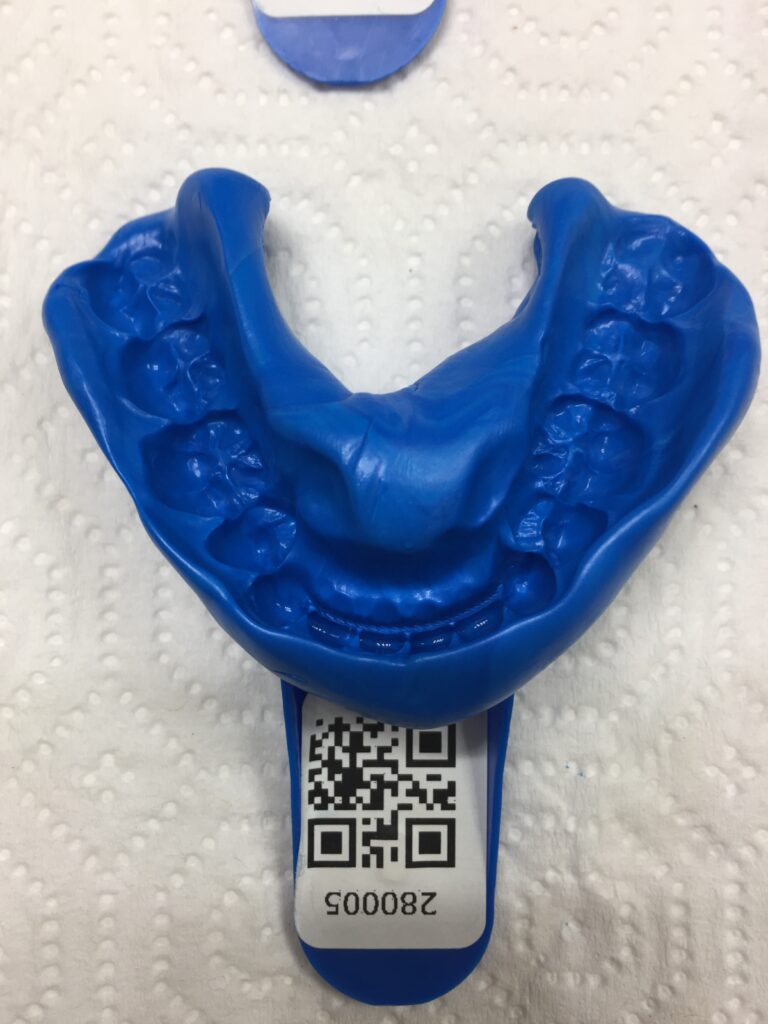
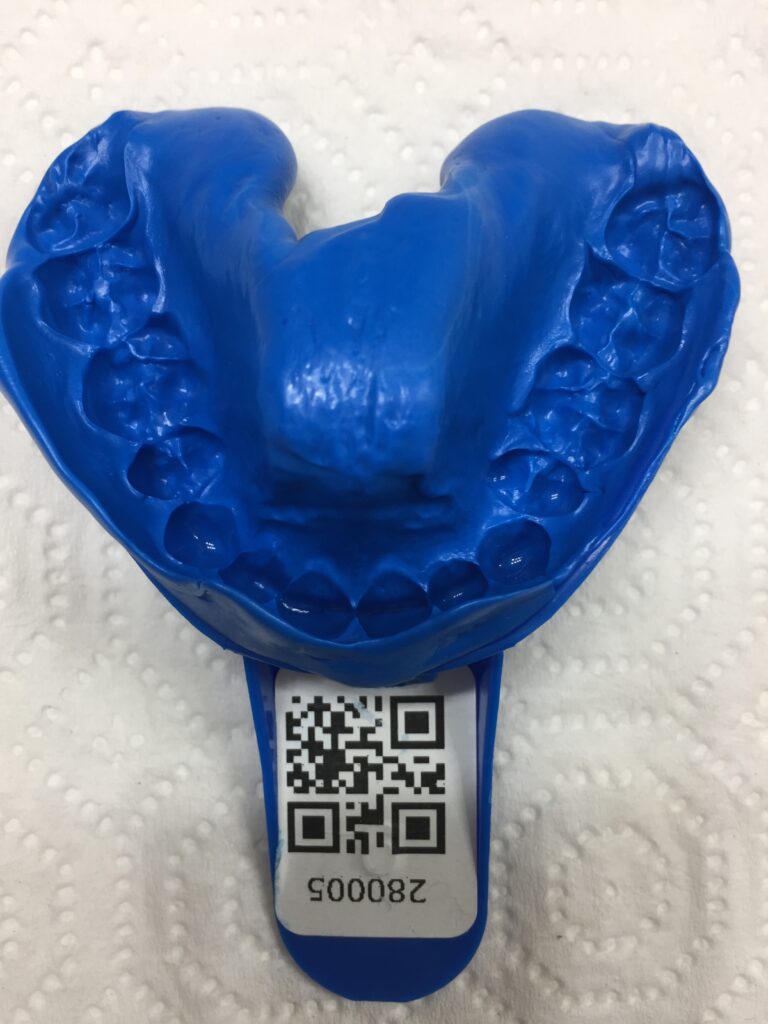
First, I had to brush my teeth with water only and floss, then I put the whitening gel in my trays and popped them in for about an hour. You can leave them in up to three hours, or do a little less than an hour, but I found that an hour, or slightly over worked best for me without causing too much sensitivity. After removing the trays, I rinsed my mouth and dried my trays. I then put the desensitizing gel in them and popped them back in my mouth for about 30 minutes. After that, I took them out and went to bed. You don’t want to rinse or eat or drink after the process, so it’s best to do it at night time.
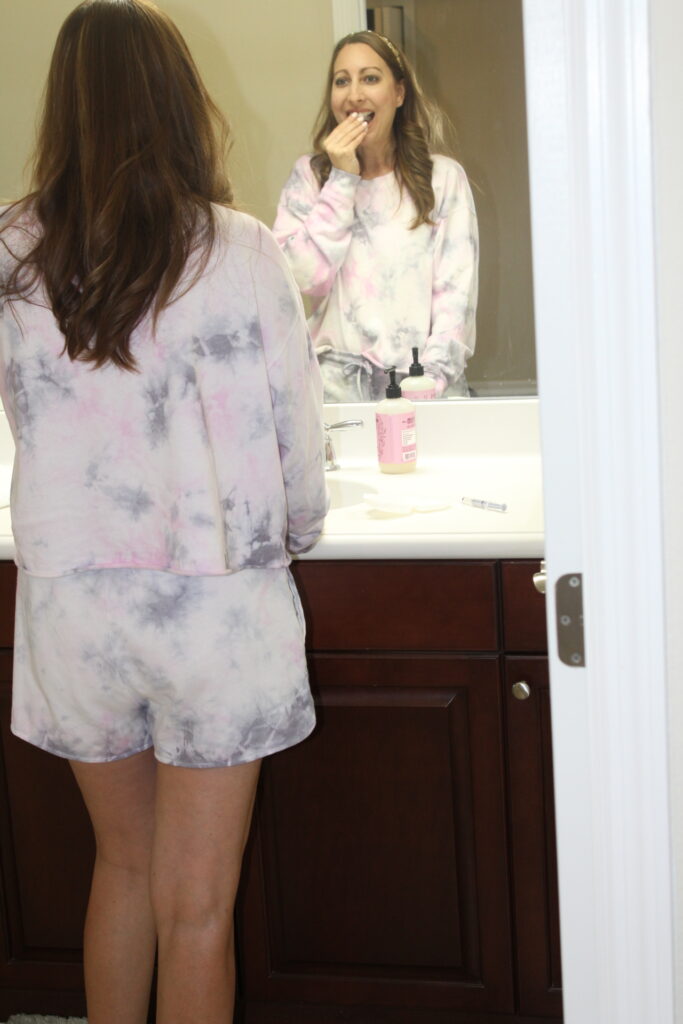
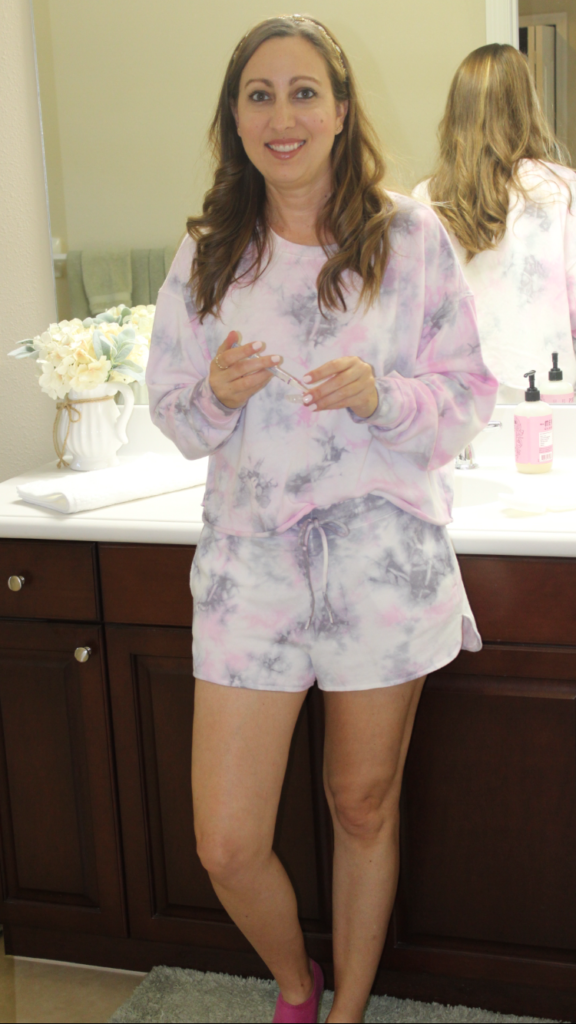
The great thing about this kit is that there’s no slippage while you’re whitening because the trays are custom made to fit your teeth, unlike conventional whitening strips. I started seeing results after just a few treatments. I spaced my whitening sessions out and did them every other night or every couple of nights, depending on how my teeth felt. What little bit of sensitivity I had was very minor. Basically, I would only feel it if I breathed in sharply through my mouth, but I had no issues eating or drinking hot or cold things.
I loved that I could be multi-tasking while I whitened my teeth. And I still have enough of the gels to continue whitening. I’m planning to give it another go after a few months to maintain the progress I’ve already made. See photos for my before and after.
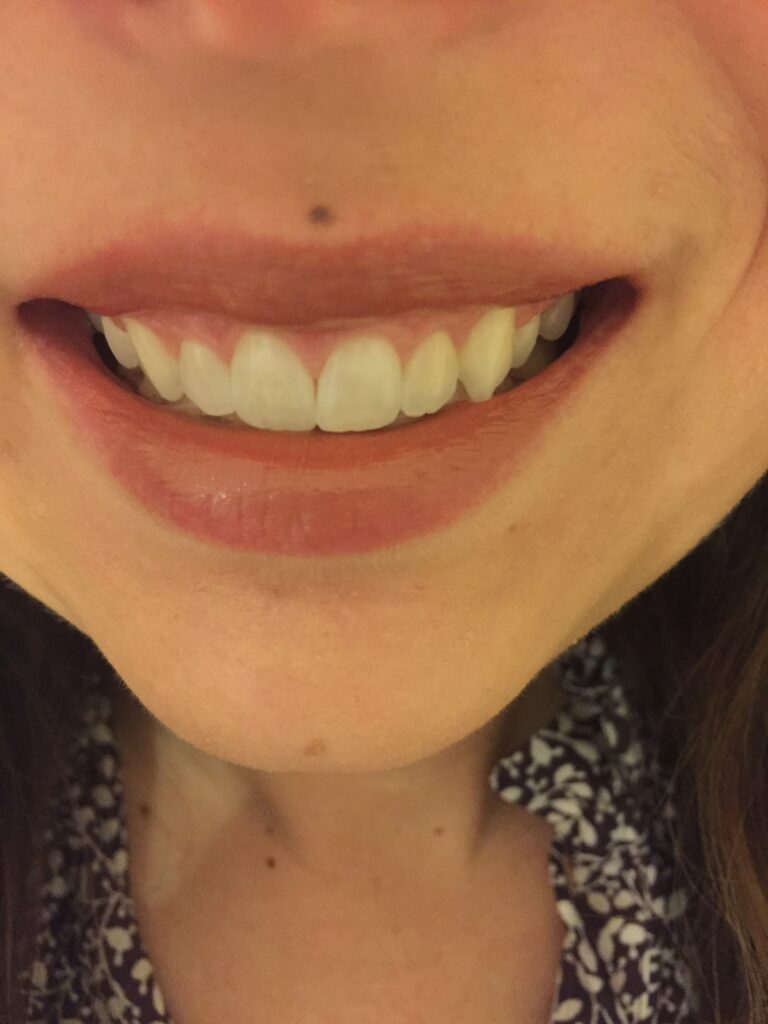
Before
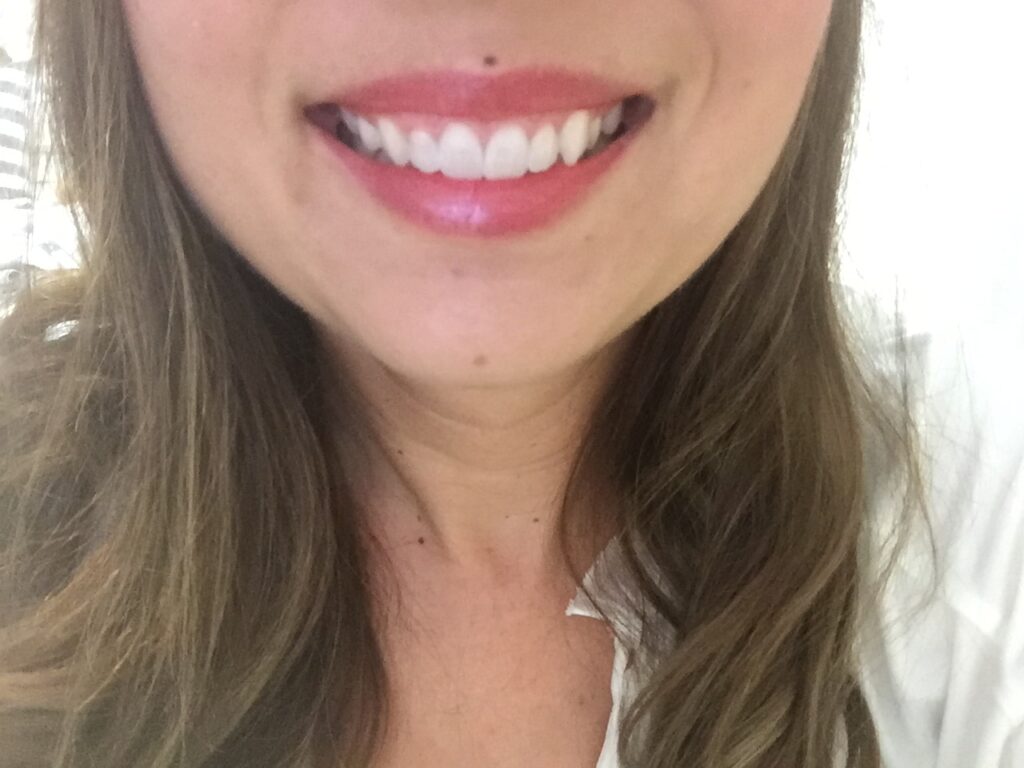
After
If you have any questions about Smile Brilliant at all, please leave me a comment or reach out to me with anything. You can also check out these FAQs. I would definitely recommend this kit to others and am so glad I gave it a try!
As a bonus, you can enter to win your own Smile Brilliant whitening kit here! And even if you don’t win, you will receive an additional discount just for entering. You can also get 15% off an order by using my code: ajourneywithjenna15

